Remember the movie My Big Fat Greek Wedding? Where Windex was the miracle cure for everything? THAT’S how I feel about spray paint. It transforms ANY ordinary object into literal gold (or white, or black or whatever colour you want!)
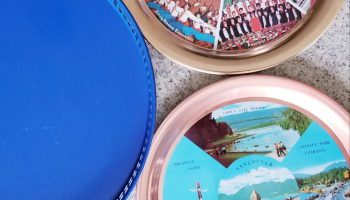
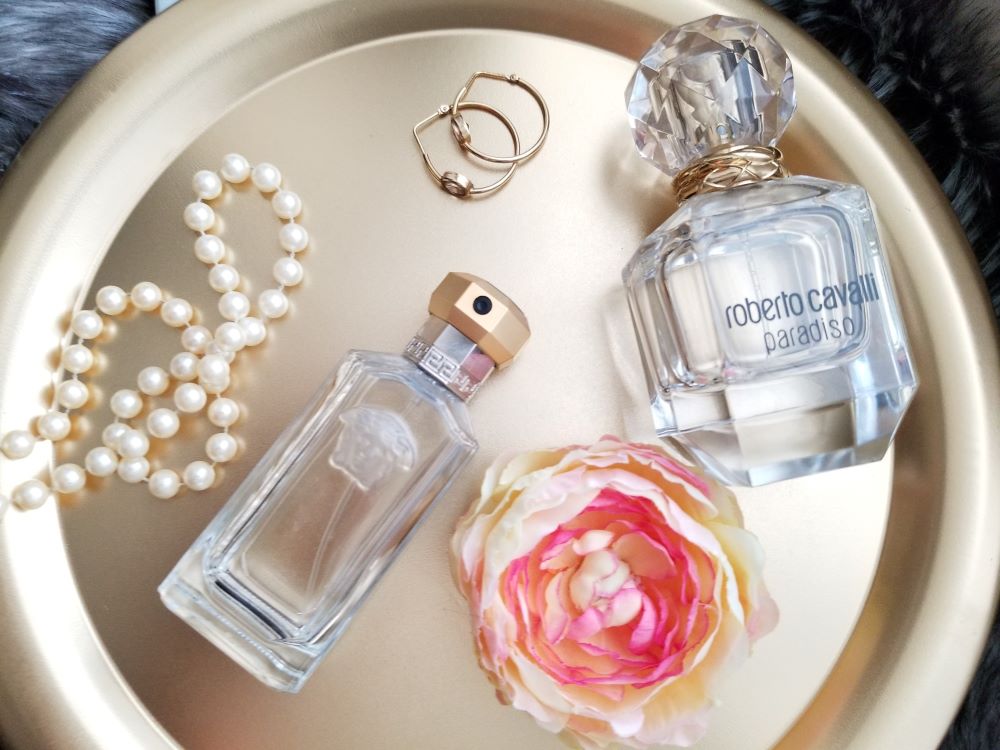
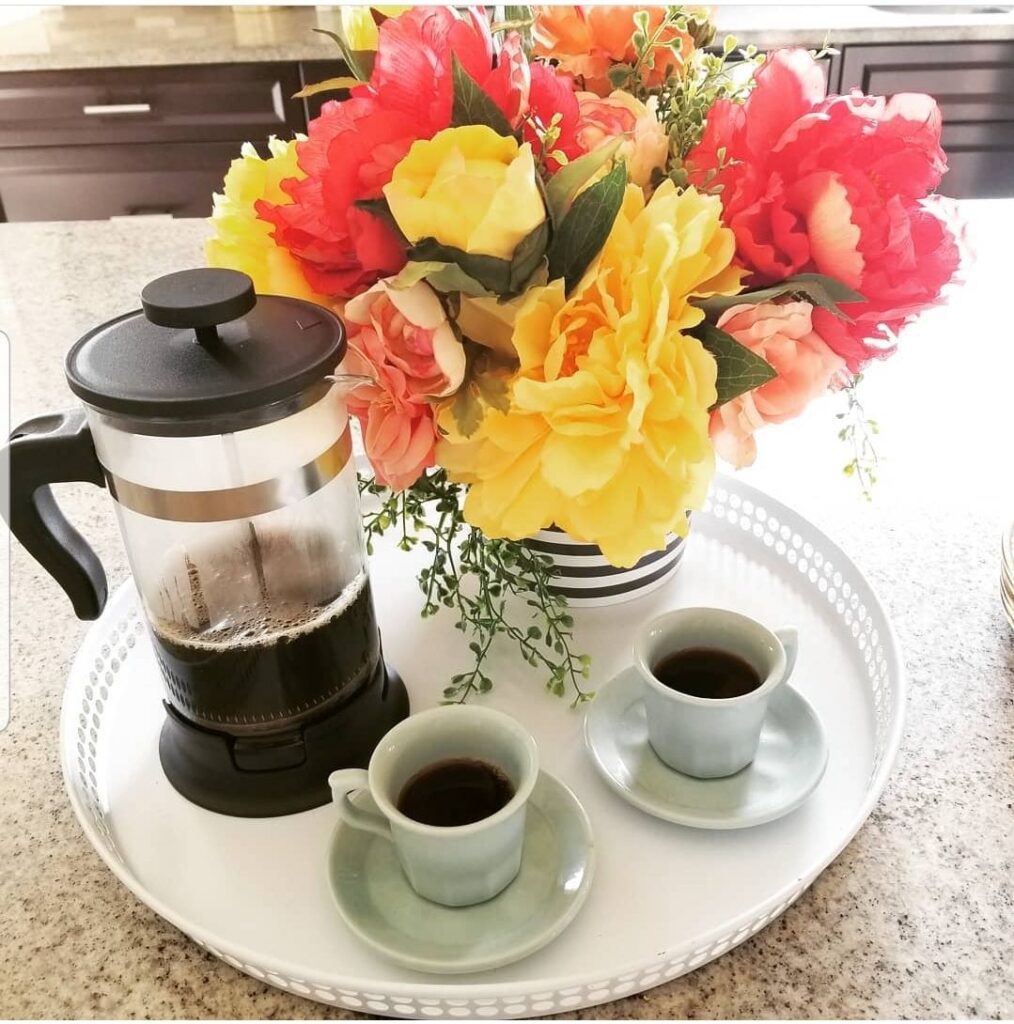
Here’s my latest project where I turned two ugly 25 cent platters into opulent gold trays for our bathroom vanity. I used Rust-Oleum Specialty Metallic in Gold -THE BEST GOLD EVERRRR! Also caught in my spray paint crosshairs: the dollar store tray that went from bright blue to bright white using White Gloss.
WHY spray paint for your next DIY project?
Not only is there a plethora of colours and finishes to choose from, but paint time is CUT IN HALF compared to regular brush painting (including drying time!)
One pass with spray paint is infinitely smoother than what I can do with a brush.
Plus, spray paint can get into all those weird angles (like in my blue tray above) – making even coverage painless and leaving a flawless finish! What’s not to love?
BUTTTT – I’ve definitely had my share of messy drips and uneven finishes and I want to save you from making those same mistakes! Here’s a few tricks I’ve learned.
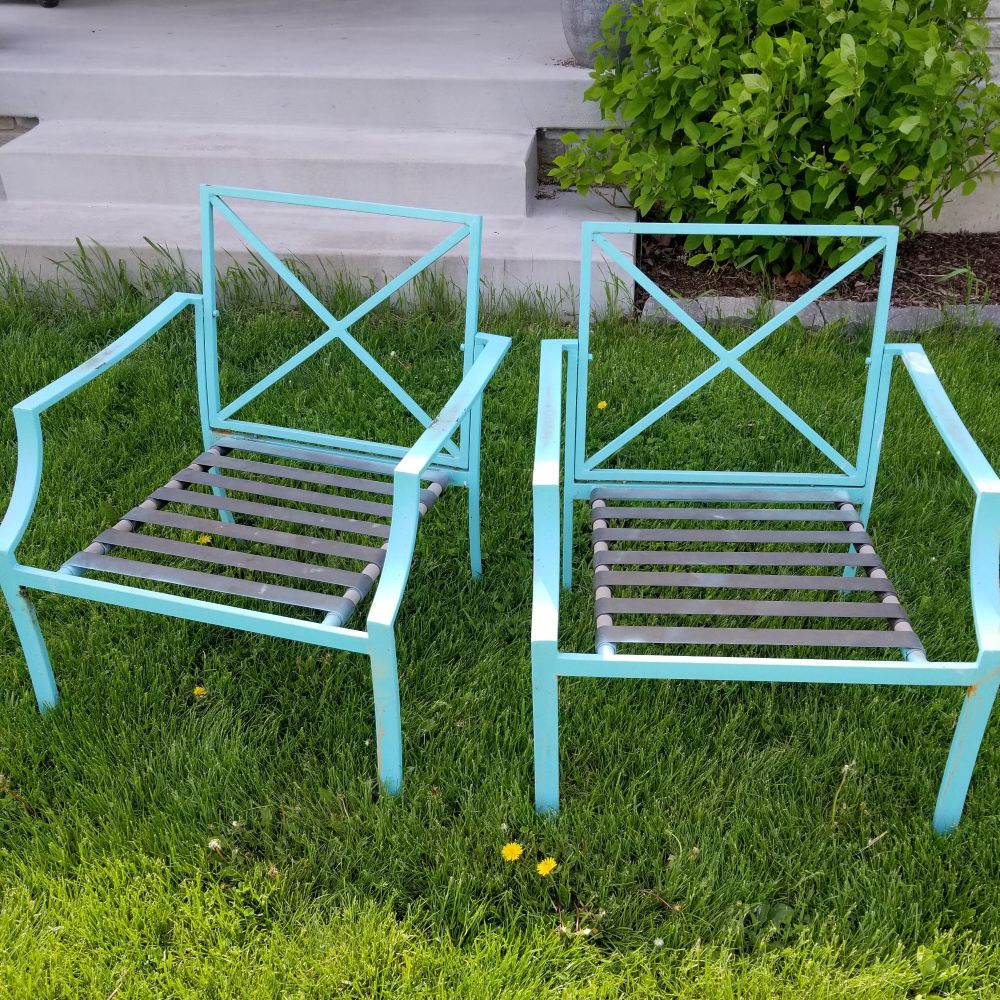
- Lightly sand any rough parts. If it’s uneven before you start…it will be uneven when you finish. For my iron patio furniture makeover (see below) I used a wire brush to get rid of the cracked and bubbly rust spots before spraying.
- Thoroughly wash and dry your item using a dish soap that cuts through grease and a drying cloth that doesn’t leave lint behind.
- Read the directions on the paint can before starting. I know its obvious, but the makers have tested their product so be sure to follow directions. Pay special attention to the recommended temperature and try not to spray on days that are too hot, humid or cold as identified on the can because the paint doesn’t cure properly. Learned this one the hard way and had a sticky, drippy mess (argh!).
- Shake the can really well before starting…like really, really well. Don’t short change this step. You want the paint well mixed so you get an even coat.
- Don’t start or stop spraying directly on the object. Start spraying away from your object on one side and then glide it across the object to the other side. Be sure your stopping point is on the other side of the object (not directly on it).
- Don’t spray too close. This helps avoid those messy drips. Again reading the can’s instructions will tell you how far you should position the sprayer for best results.
- Keep it light. It’s easier to do a thin, light coat . Typically, I spray one thin coat and then 45mins to 1 hr. later I’m able to go back and do a 2nd coat for complete coverage.
- Wipe the nozzle. If you’re spraying a lot, the nozzle can build up with paint (and that’s when drips happen) so take a sec to wipe nozzle with a rag so you can continue on your merry way without spots or drips.
- If drips or spots happen (let’s face it sometimes they do) let it dry, lightly sand it down, wipe with cloth and cover with light coat.
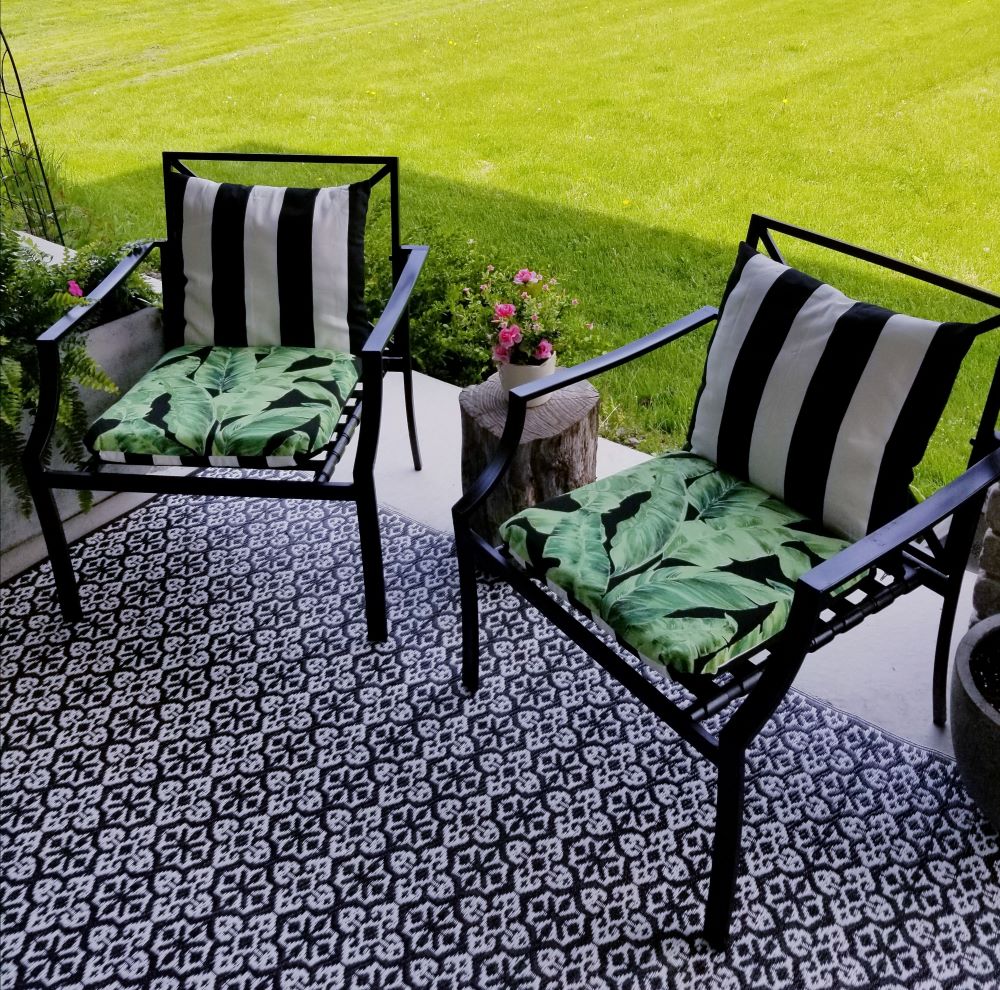
Wanna see my FAVOURITE spray paint project?
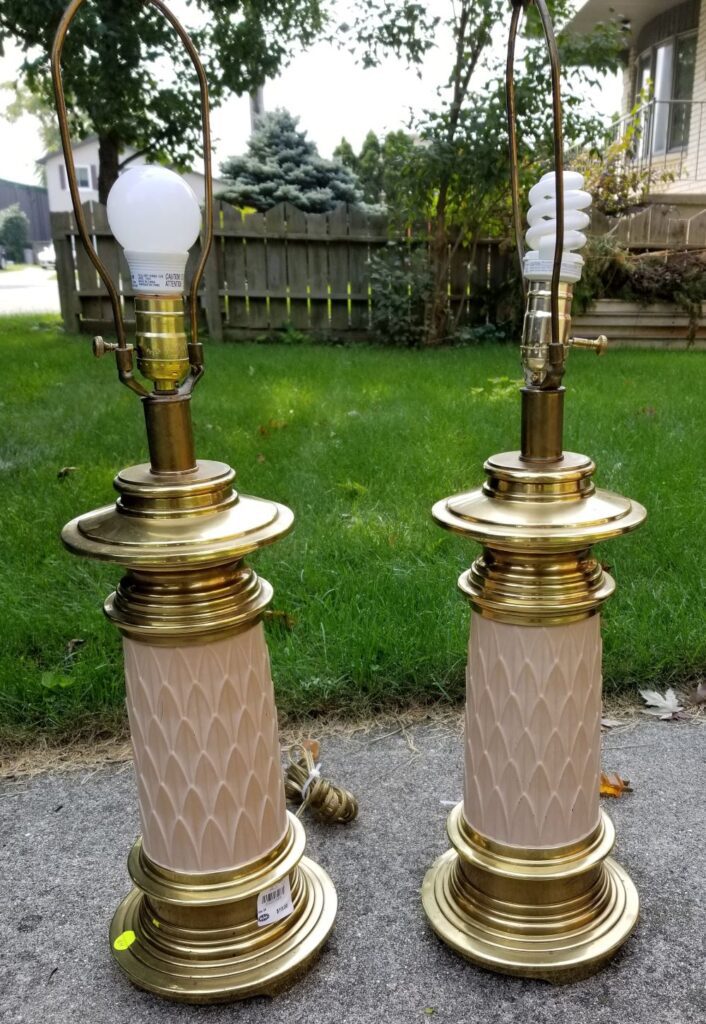
I picked up lamps at a second hand store for $9 each. (score!) They had brass and looked to be of quality but the peachy, beige colour HAD-TO-GO!
The ratty, pleated, cream shades were SO appalling that I threw them away before I remembered to get before pic.
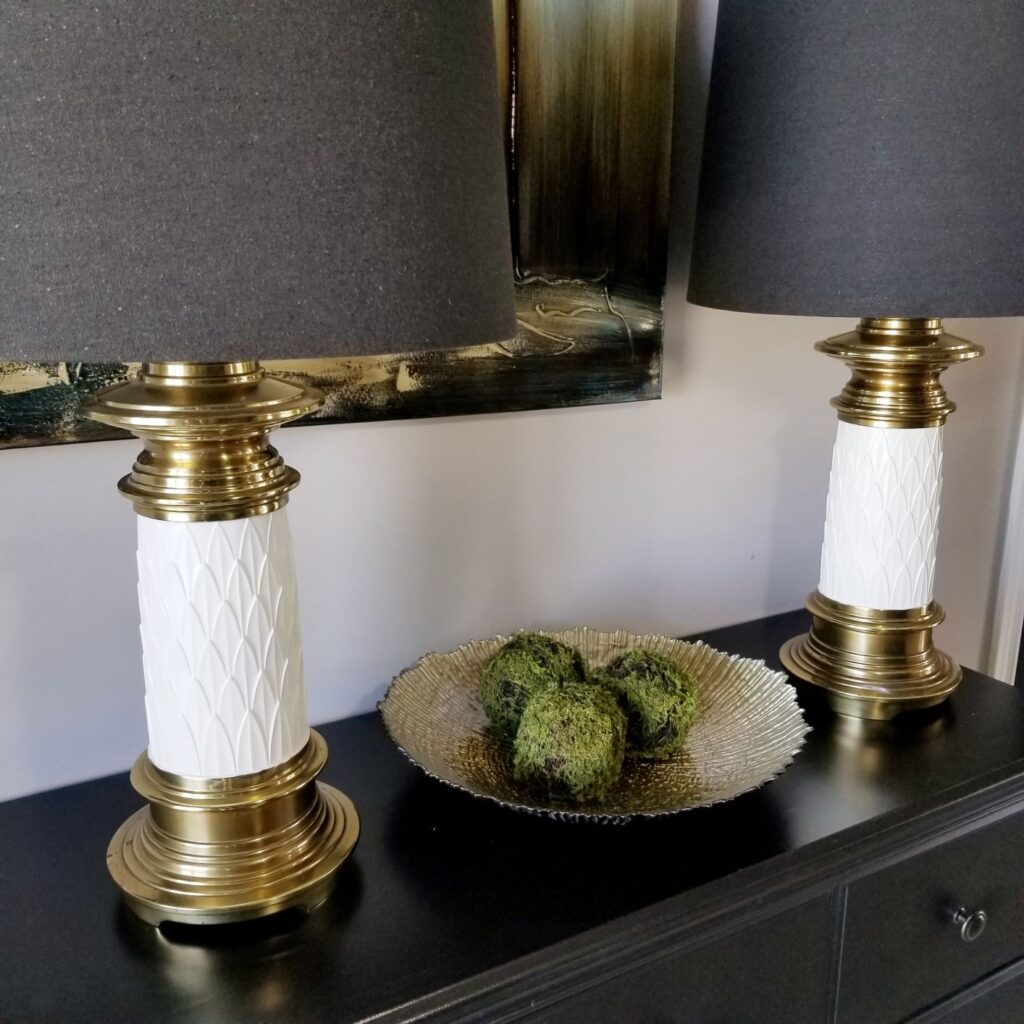
With a fresh coat of spray paint (Rust-oleum Ultra Cover in Heirloom White) and some new shades, I now have gorgeous lamps for my entryway (at a fraction of the cost and WITHOUT skimping on style.)
Love spray paint projects? Here’s a few other projects you may love: Modern Christmas ornament DIYs, Geometric Design Easter Eggs
Happy spray-painting!


